Your friends sent you a modpack link. You want to play it together. Normally that means downloading the server pack, extracting files, uploading JARs, editing configs, figuring out which Forge version to use, praying nothing conflicts — you know the drill.
Or you could just search for it and click Install.
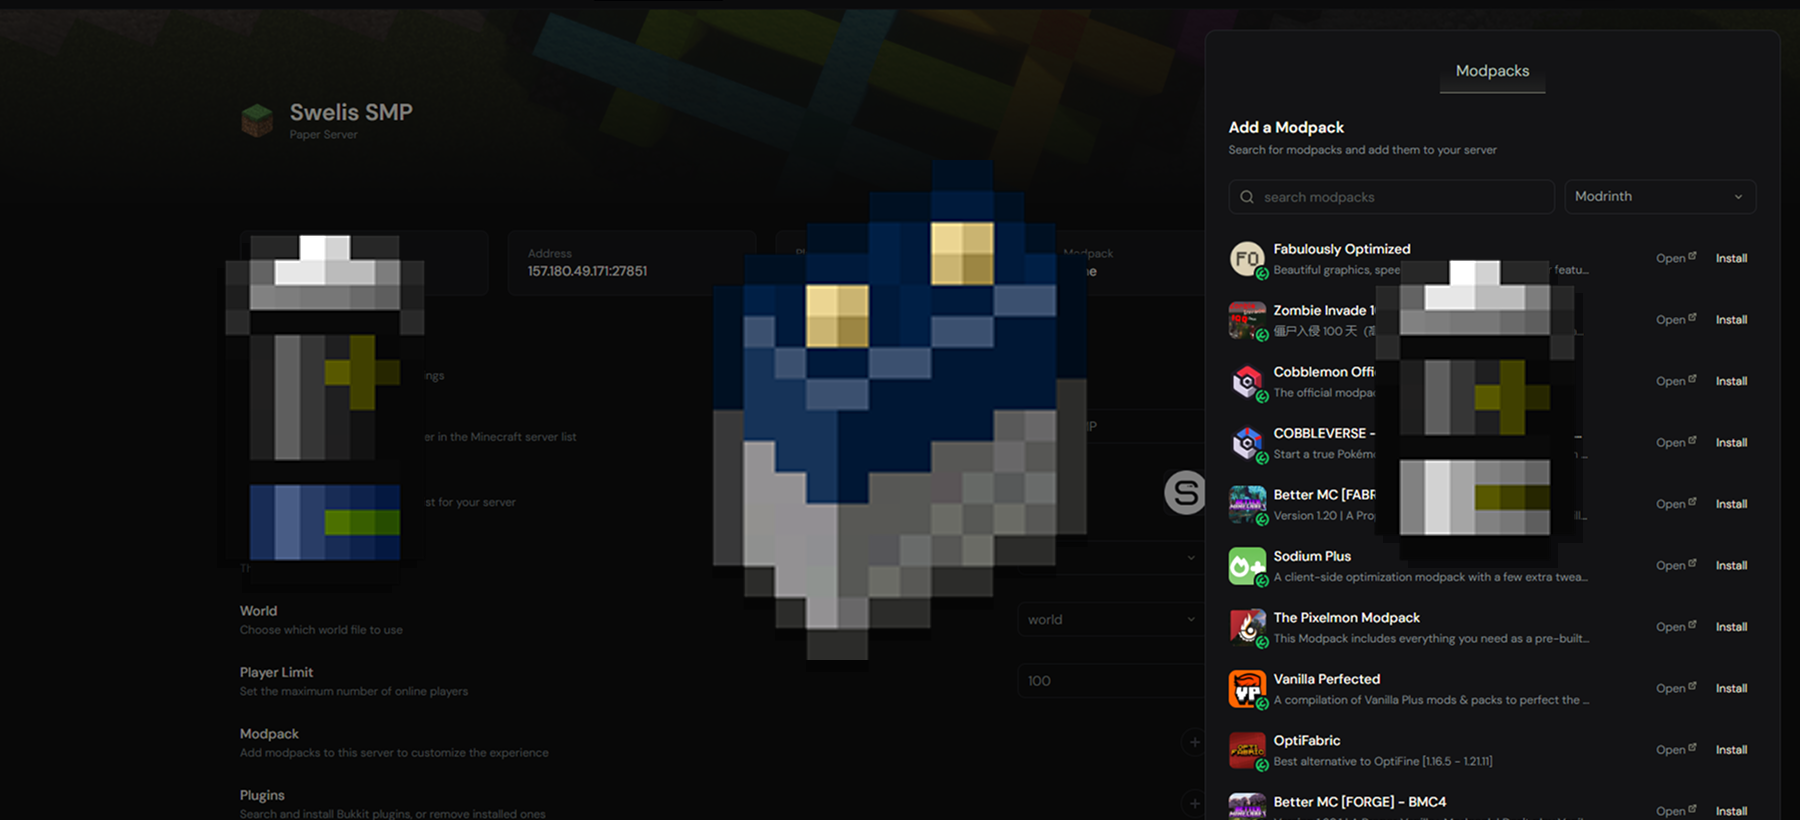
Swelis Hosting's Modpack Manager handles the entire process. Find any modpack on Modrinth, hit install, and your server is running it in under a minute. No file management, no manual downloads, no guesswork.
Finding Your Modpack
From your server dashboard, open the Minecraft tab and click the plus. This opens the modpack browser.
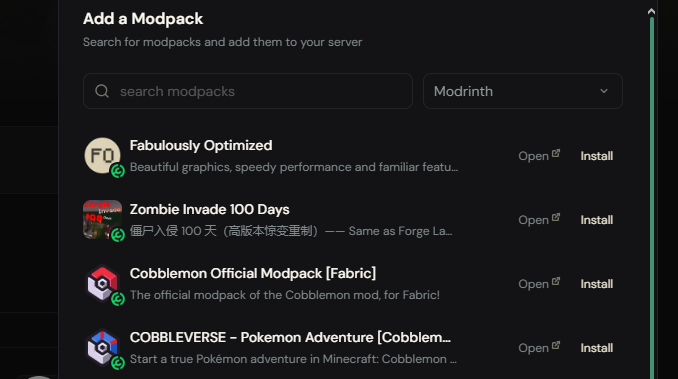
Type the name of any modpack — Better Minecraft, All the Mods, RLCraft, Cobblemon, whatever you are looking for. Results come straight from Modrinth, one of the largest Minecraft mod repositories, so the library is massive.
Each result shows:
- Logo — so you can spot the right one at a glance
- Name — the modpack title
- Description — a quick summary of what the pack includes
You can also browse without searching to discover popular packs. Use the page controls at the bottom to explore more results.
Installing a Modpack
Found the one you want? Click the Install button on the modpack card.
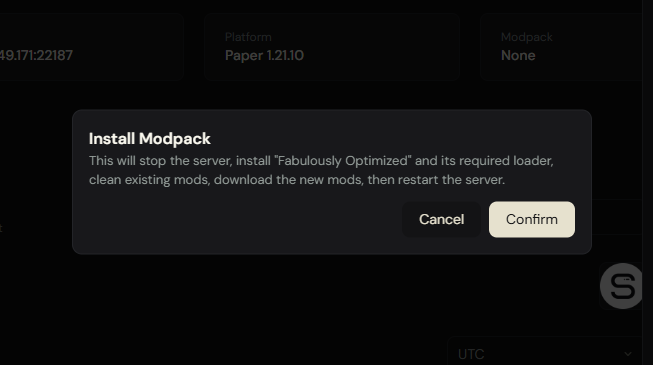
A confirmation dialog pops up — just to make sure you meant to click it. Hit Confirm and the magic starts.
Here is what happens behind the scenes when you click that button:
- We download the modpack from Modrinth
- Parse the pack contents — extract the mod list, Minecraft version, and loader type
- Install the right server software — Forge, Fabric, NeoForge, or Quilt, whatever the pack needs
- Download every mod in the pack to your server's
/modsfolder - Restart your server with everything ready to go
You do not pick a loader. You do not pick a Minecraft version. You do not download a single file. The modpack defines all of that, and we handle it automatically.
What Loaders Are Supported?
The manager detects the loader from the modpack metadata and installs the correct one:
| Loader | Support |
|---|---|
| Forge | Full support |
| NeoForge | Full support |
| Fabric | Full support |
| Quilt | Full support |
| Vanilla | Fallback if no loader specified |
Most popular modpacks use Forge or Fabric. The installer figures out which version of the loader is needed and pulls the right one — you never have to think about it.
After Installation
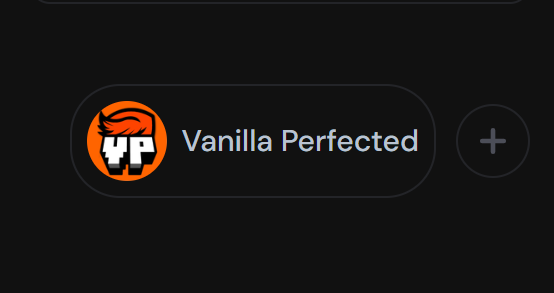
Once installed, you will see the modpack badge on your server's config section — showing the pack's logo, name, and a link to the Modrinth page.
Your server is now running the modpack. Tell your friends to install the client-side pack (through a launcher like Prism, ATLauncher, or Modrinth's own app) and connect to your server IP.
That is it. You are playing.
Switching Modpacks
Want to try a different pack? Just open the modpack browser again and install a new one. The installer will:
- Stop your server gracefully
- Clean up old loader files and the existing
/modsfolder - Install the new pack fresh — new loader, new mods, clean slate
- Restart with the new modpack running
No leftover files, no conflicts between old and new mods. Every install starts clean.
Adding Individual Plugins Too
The modpack manager is for full modpacks, but you can also install individual plugins from the Plugins tab. We support both:
- Modrinth — plugins and mods
- SpigotMC — the classic Bukkit/Spigot plugin repository
Search, click install, done. Same one-click flow. Plugins go straight to your /plugins folder and are ready on the next restart.
Tips for a Smooth Experience
RAM matters. Modpacks like All the Mods or RLCraft are heavy. If your server plan has 2 GB of RAM, a 300-mod pack is going to struggle. Here is a rough guide:
| Modpack Size | Recommended RAM |
|---|---|
| Light (20-50 mods) | 4 GB |
| Medium (50-150 mods) | 6-8 GB |
| Heavy (150+ mods) | 8-12 GB |
| Kitchen Sink (300+ mods) | 12-16 GB |
You can always upgrade your plan from the billing section if you need more headroom.
First startup takes longer. Forge and Fabric need to set up on the first boot — downloading libraries, patching files, that sort of thing. Give it a couple minutes. After that, restarts are much faster.
Client version must match. Make sure everyone connecting has the same modpack version installed on their client. Mismatched mods will cause connection errors.
Quick Recap
| Step | What You Do |
|---|---|
| 1. Open modpack browser | Click the puzzle piece icon in the Minecraft tab |
| 2. Search | Type the modpack name |
| 3. Install | Click Install → Confirm |
| 4. Wait ~30 seconds | Server installs loader + all mods automatically |
| 5. Play | Connect with the matching client pack |
No FTP. No file uploads. No config editing. No loader downloads. Just search, install, play.
Related Guides
- Best Minecraft Server Plugins 2026 — our top 20 plugin picks with one-click install
- How to Make a Minecraft SMP Server in 2026 — set up plugins, permissions, and community rules
- How to Fix Minecraft Server Lag — optimize performance after installing mods
- How to Set Up Your First Minecraft Server — get your server running in minutes
The Modpack Manager is available on all Minecraft hosting plans. Open your dashboard, search for your favorite pack, and get playing.
Happy modding.