
Starting a Minecraft SMP (Survival Multiplayer) server is one of the best ways to play the game. You and your friends share a world, build together, and create memories that singleplayer just can not match. Here is the complete guide to getting your SMP up and running in 2026.
What Is an SMP Server?
SMP stands for Survival Multiplayer. It is a shared Minecraft world where everyone plays in Survival mode — mining resources, building bases, exploring, and (optionally) fighting each other. Some of the biggest Minecraft communities started as small SMP servers between friends.
An SMP is different from minigame servers or creative servers. There are no lobbies or game modes to cycle through — just one persistent world that evolves as your group plays.
Step 1: Choose Your Hosting
New to Minecraft hosting? Check out our guide: How to Set Up Your First Minecraft Server in Under 2 Minutes for a quick walkthrough.
You have two options: self-hosting or paid hosting. Here is the honest breakdown.
Self-Hosting (Your Own PC)
You can run a Minecraft server on your own computer for free. The downsides:
- Your PC has to stay on 24/7 for friends to join anytime
- You need to port forward your router, which opens your home network
- Performance depends on your hardware — and you are sharing it with whatever else you are doing
- No DDoS protection, no automatic backups, no uptime guarantee
Self-hosting works for a quick test session, but it is not practical for a real SMP that people want to play on regularly. If you go the self-hosting route, you will need to port forward your router.
Paid Hosting (Recommended)
A hosted server runs on dedicated hardware in a data center. It is always online, protected, and backed up. You manage it from a web panel instead of a terminal.
On Swelis, for example, you pick your RAM and server type, pay monthly starting at €1.50/GB, and your server is live in about 60 seconds. No terminal commands, no config files — just pick your settings and go.
| Players | Recommended RAM | Monthly Cost |
|---|---|---|
| 2–5 | 2 GB | €3 |
| 5–15 | 4 GB | €6 |
| 15–30 | 8 GB | €12 |
| 30+ | 12–16 GB | €18–24 |
Step 2: Pick Your Server Software
The server software (also called the "server jar") determines what your server can do.
Vanilla
The official Mojang server. No plugins, no mods — pure Minecraft. Good for a small group that wants the stock experience.
PaperMC (Recommended for SMP)
A performance-optimized fork of Spigot. Supports thousands of plugins, patches exploits, and runs significantly faster than Vanilla. If you are running an SMP in 2026, Paper is the standard choice.
Fabric
A lightweight mod loader. Great if your group wants to run client-side and server-side mods (like optimization mods, minimaps, or content packs). Requires everyone to install matching mods.
Forge
The classic mod loader. Huge mod library, but heavier on resources. Best for modpack-based SMPs.
Our recommendation: Start with PaperMC. It gives you the best balance of performance, plugin support, and ease of use. You can always switch later without losing your world.
Step 3: Create Your Server
If you are using Swelis, the process takes about two minutes:
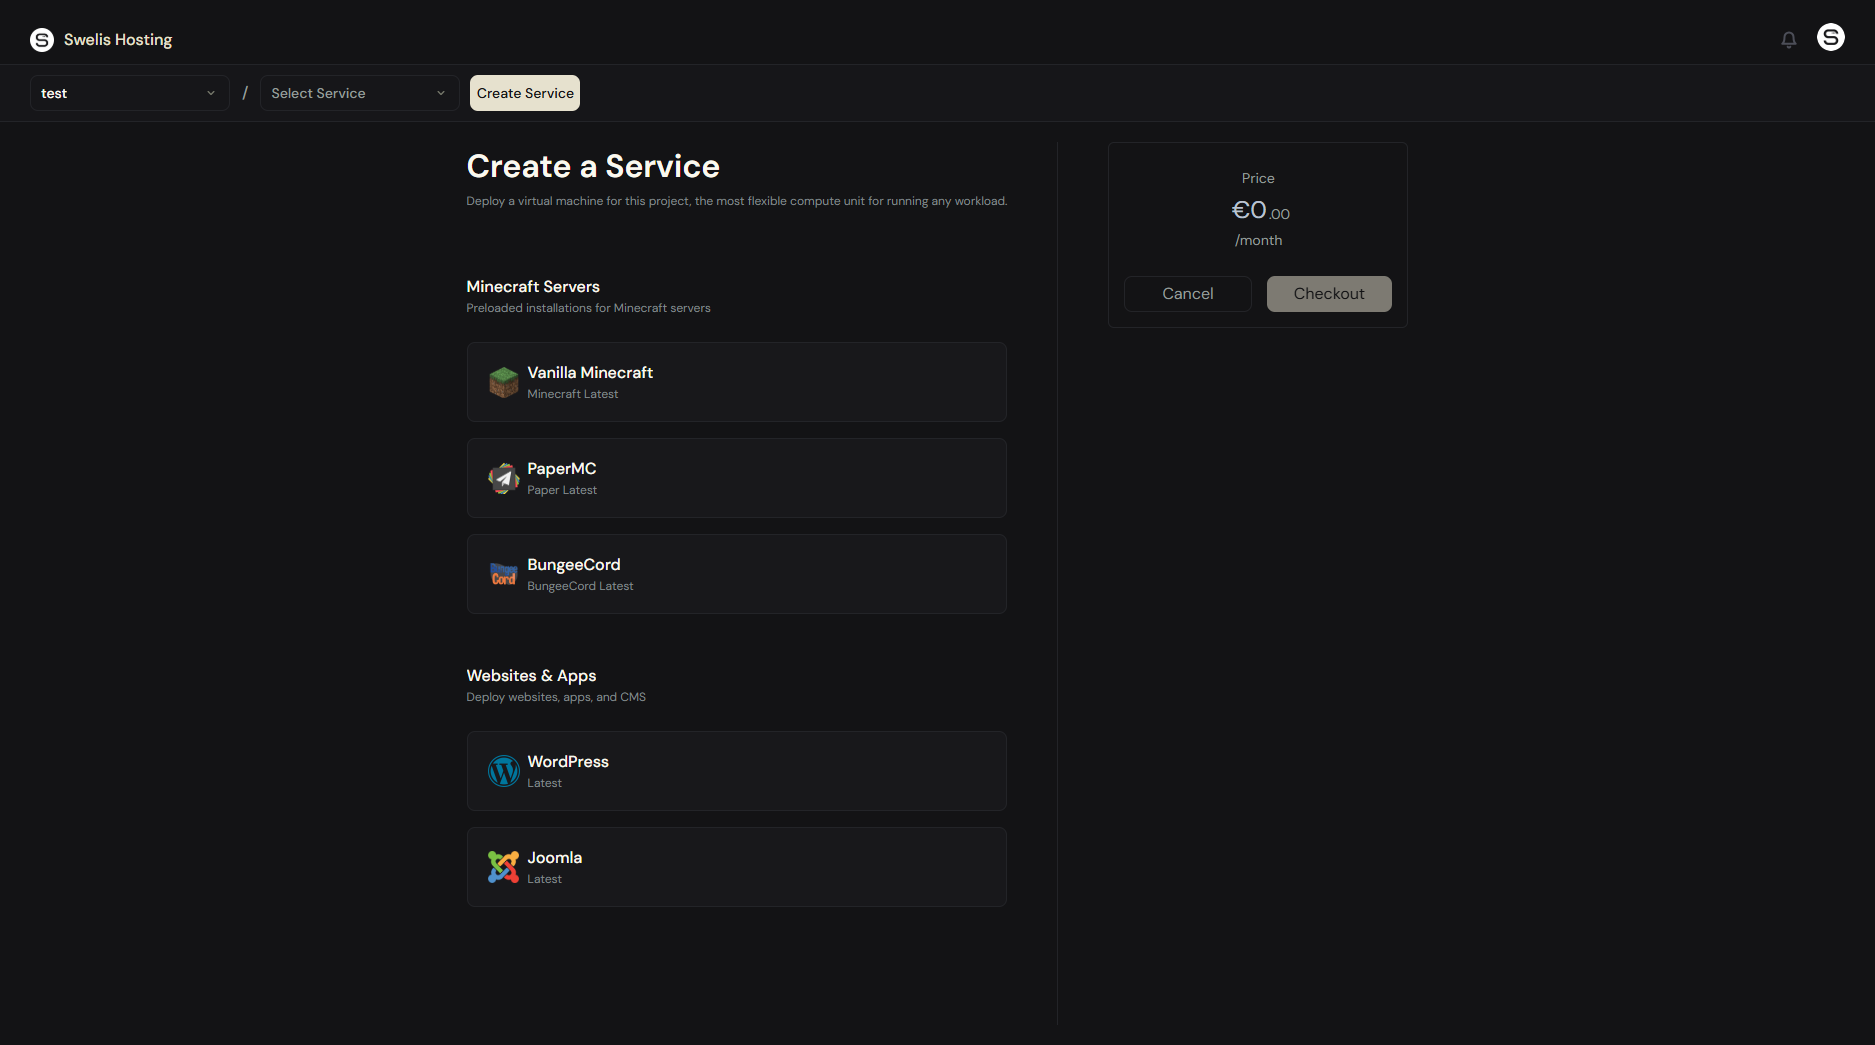
- Sign up at hosting.swelis.com
- Create a project — this groups your server and any future services
- Pick PaperMC (or your preferred server type) from the template grid
- Set your RAM — 4 GB is a solid starting point for most SMPs
- Checkout — your server provisions in about 60 seconds
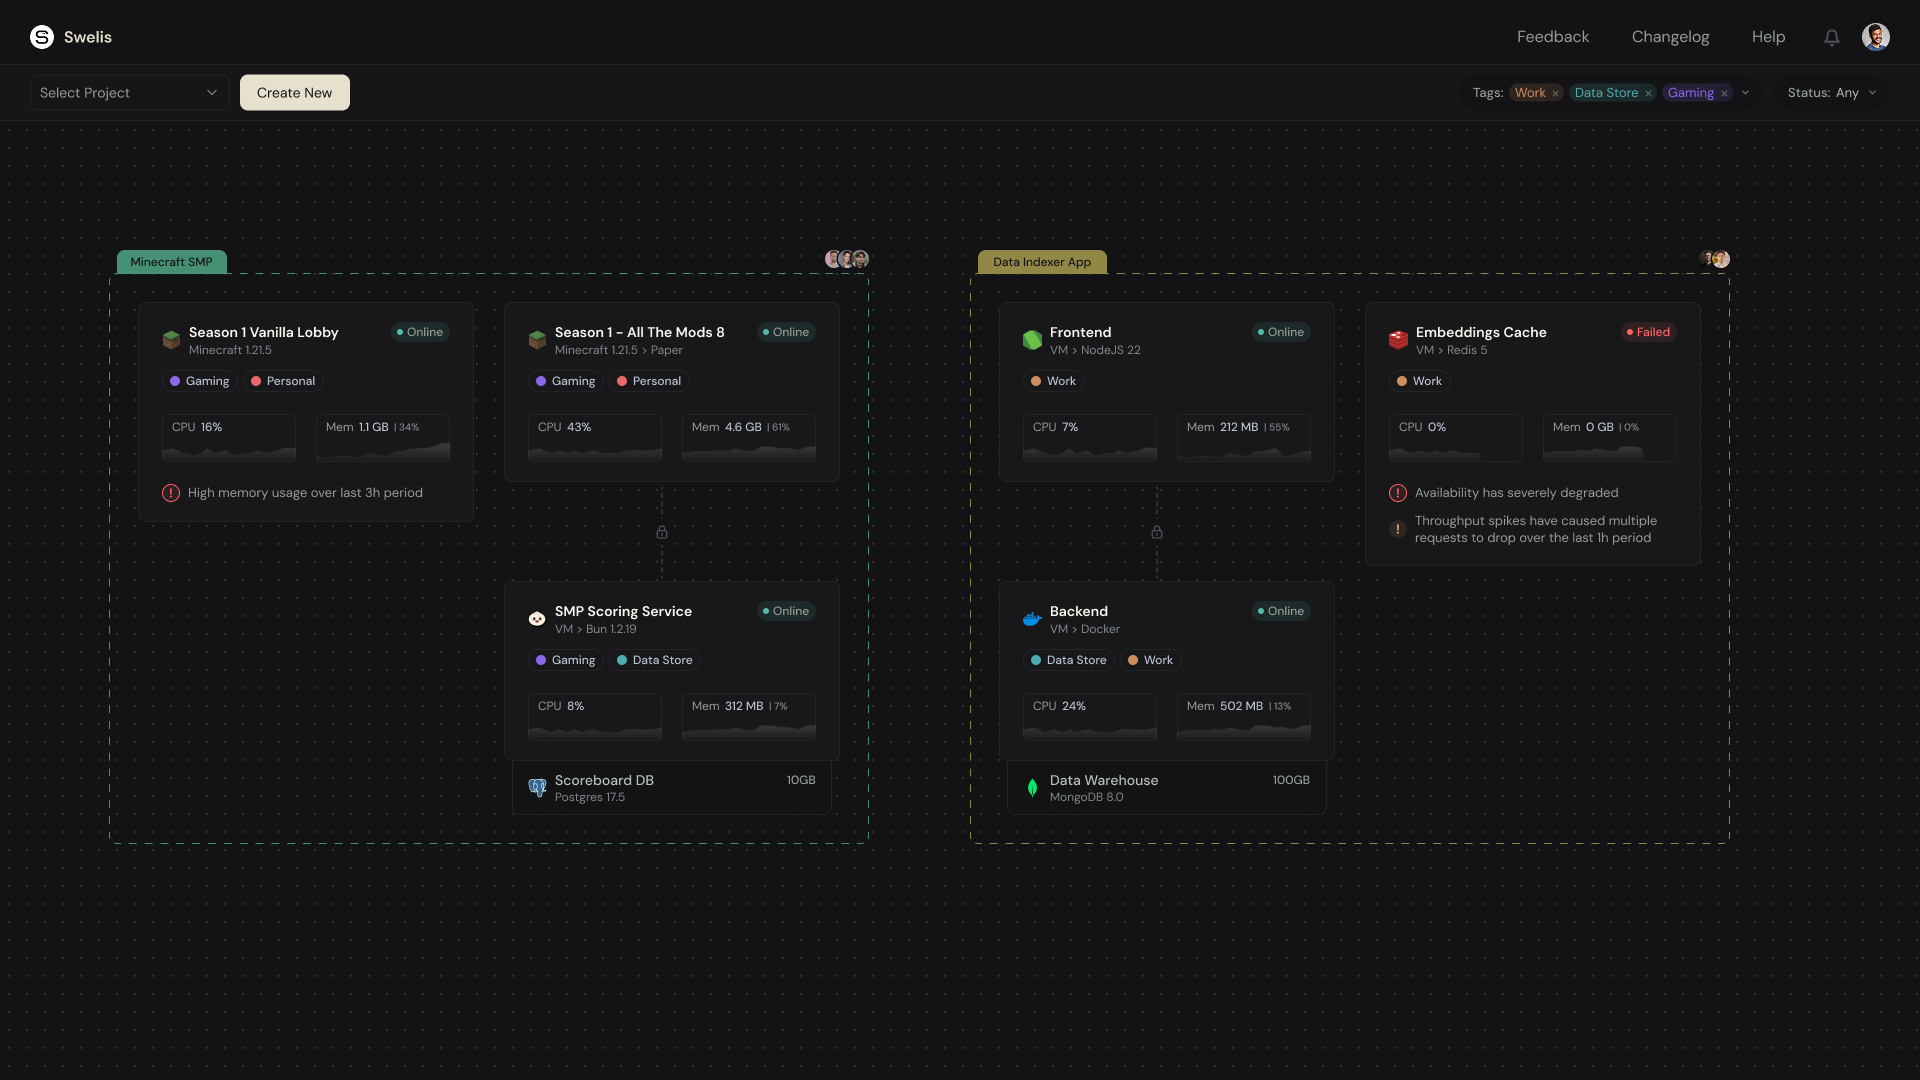
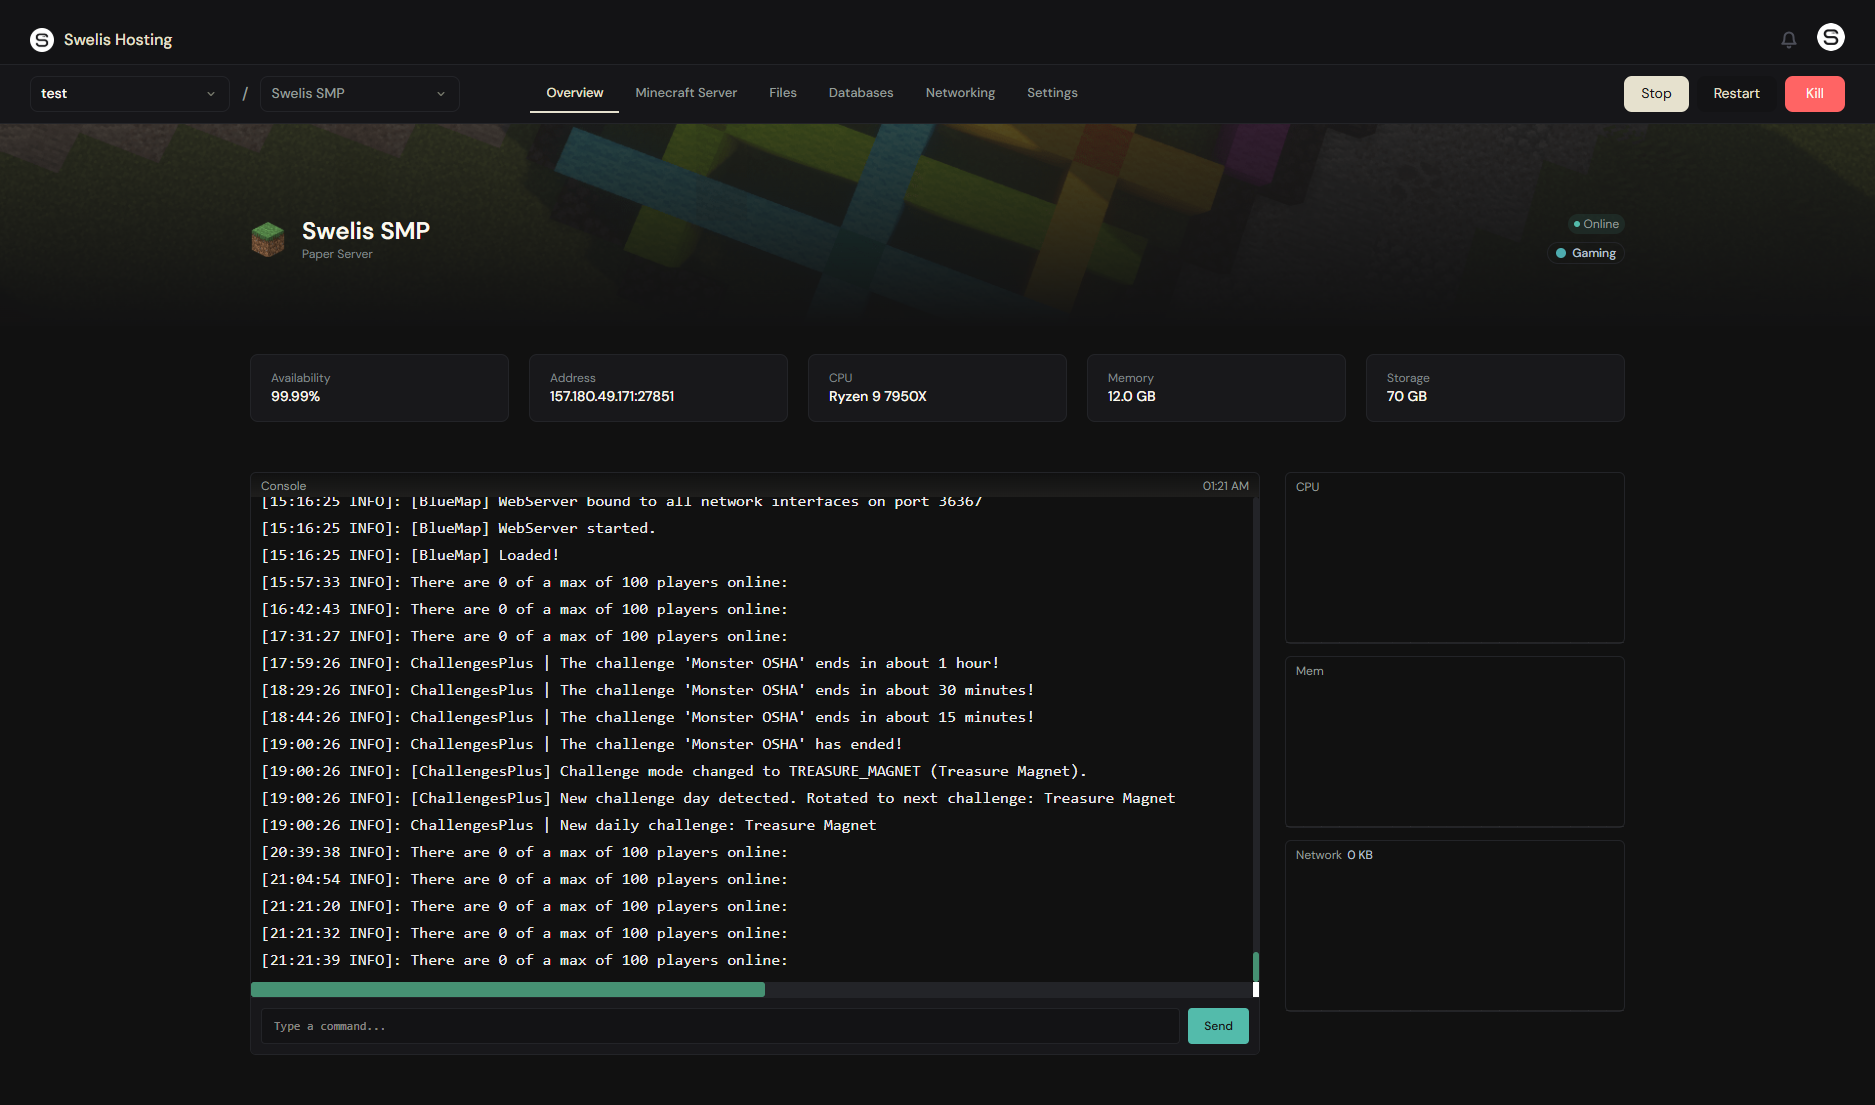
Once it is online you will see a live console, file manager, and the full management panel.
If you are self-hosting, download the server jar from papermc.io, run it with java -Xmx4G -jar paper.jar, accept the EULA, and configure port forwarding on your router (default port: 25565).
Step 4: Configure Server Settings
Open server.properties (in your file manager or via FTP) and tweak these key settings:
# Server name shown in the multiplayer list
motd=Welcome to Our SMP!

# Maximum players
max-players=20

# Difficulty (peaceful, easy, normal, hard)
difficulty=hard

# PvP toggle
pvp=true

# Whitelist — highly recommended for SMPs
white-list=true

# View distance — lower = better performance
view-distance=10

# Simulation distance
simulation-distance=8
Important Settings for SMP
- white-list=true — Only approved players can join. Essential for keeping your SMP private.
- difficulty=hard — Most SMP communities play on Hard. It makes the game more engaging without being unfair.
- pvp=true — Keep PvP on but set ground rules with your group. Most SMPs allow consensual PvP but discourage griefing.
- spawn-protection=0 — Set to 0 so all players can build near spawn, not just ops.
Step 5: Install Essential Plugins
If you are running PaperMC, plugins are what make your SMP feel polished. Here are the essentials:
For a deeper dive into each plugin, check out our Best Minecraft Server Plugins 2026 — a top 20 list with one-click install links.
Must-Have Plugins
| Plugin | What It Does |
|---|---|
| EssentialsX | Homes, warps, /tpa, /msg, kits, economy basics |
| LuckPerms | Permission management — control who can do what |
| Vault | Economy API that connects plugins together |
| WorldGuard + WorldEdit | Region protection and building tools |
| CoreProtect | Block logging — see who placed/broke what (anti-grief) |
You can install all of these with one click using our Modpack Manager — search, click, done.
Nice-to-Have Plugins
| Plugin | What It Does |
|---|---|
| Dynmap | Live web map of your world |
| GriefPrevention | Claim-based land protection players manage themselves |
| DiscordSRV | Bridge chat between your Minecraft server and Discord |
| BlueMap | Beautiful 3D web map (alternative to Dynmap) |
| Chunky | Pre-generates chunks to reduce lag when exploring |
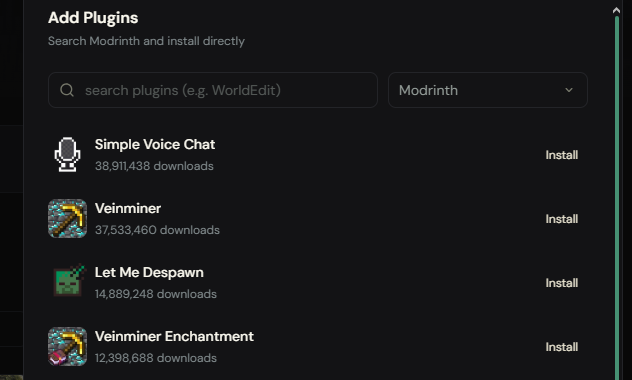
On Swelis, you can search and install plugins directly from the dashboard — no need to manually download JARs and upload them via FTP.
Step 6: Set Up Permissions
Permissions control what each player can do. LuckPerms is the standard tool for this.
A simple permission setup for an SMP:
Groups
- Default — New players. Can chat, use /home, /tpa, /spawn
- Member — Trusted players. Can use /sethome (multiple), access warps
- Moderator — Can kick, mute, check CoreProtect logs, teleport to players
- Admin — Full access
Basic LuckPerms Commands
/lp creategroup member
/lp creategroup moderator
/lp creategroup admin

# Set member as the next rank above default
/lp group member parent add default

# Give members extra homes
/lp group member permission set essentials.sethome.multiple.3

# Give moderators kick/mute
/lp group moderator permission set essentials.kick
/lp group moderator permission set essentials.mute
/lp group moderator permission set coreprotect.inspect

# Promote a player
/lp user PlayerName parent set member
Keep permissions minimal at first. You can always add more as your community grows. Over-permissioning early leads to chaos.
Step 7: Set Ground Rules
Every successful SMP has clear rules. Post them on your Discord, at spawn, or both. Common SMP rules:
- No griefing — Do not destroy or steal from other players
- No hacking or exploiting — No X-ray, fly hacks, or duplication glitches
- PvP is consensual — Both players must agree before fighting
- Build at least 100 blocks from other bases unless invited
- No lag machines — Massive redstone contraptions or entity farms need approval
- Be respectful — Toxicity gets you removed
CoreProtect lets you verify rule-breaking after the fact. If someone griefs a base, you can roll it back and ban the offender with evidence.
Step 8: Invite Your Players
Whitelist Management
Add players to the whitelist before they try to join:
/whitelist add PlayerName
/whitelist list
/whitelist remove PlayerName
Share Your Server Address
Your server address is shown in your hosting dashboard. Share it with your group via Discord, group chat, or however you communicate. Players add it in Multiplayer → Add Server in their Minecraft client.
Set Up a Discord Server
Most SMPs live and die by their Discord community. At minimum, create channels for:
- #announcements — server updates and rule changes
- #general — off-topic chat
- #coordinates — share base locations and points of interest
- #support — report issues or request help
Use DiscordSRV to bridge in-game and Discord chat so nobody misses messages.
Step 9: Keep Your Server Healthy
Backups
Back up your world regularly. A corrupted chunk or accidental grief can wipe hours of work.
- On Swelis, backups are built into the dashboard — create them manually or schedule automatic ones
- If self-hosting, use a script or plugin like EasyBackup to automate it
Performance Monitoring
Watch your server's resource usage. If TPS (ticks per second) drops below 18, your server is lagging. Common causes:
- Too many entities (mob farms, item drops)
- Excessive loaded chunks (lower view-distance)
- Poorly optimized plugins
- Not enough RAM for your player count
Use /tps (Paper built-in) to check performance. The Spark plugin gives detailed profiling if you need to diagnose specific lag sources.
Updates
Keep your server jar and plugins updated. Paper releases frequent patches for security and performance. Check for updates monthly or when Minecraft releases a new version.
Bedrock Cross-Play
Want friends on console, mobile, or Windows 10 to join your Java server? Install the GeyserMC plugin. It translates Bedrock connections to Java on the fly — no separate server needed.
On Swelis, you can enable Bedrock support directly from the Minecraft tab in your dashboard with a single toggle.
Keeping Things Running Smooth
Server lag is the enemy of every SMP. If your players start complaining about rubber-banding or slow block breaks, check out our complete guide to fixing Minecraft server lag.
If you are building a creative community alongside your SMP, Creative Sync lets your build team work in a separate creative world and sync their builds back to survival — no commands, no world editing.
Wrapping Up
Starting an SMP is straightforward in 2026. The tools are better than ever — modern server software is fast, plugins are mature, and hosting is affordable.
Here is your checklist:
- Choose hosting (or set up your own machine)
- Pick PaperMC as your server software
- Configure server.properties for your group
- Install essential plugins (EssentialsX, LuckPerms, CoreProtect)
- Set up permissions and ground rules
- Whitelist your players and share the address
- Set up backups and monitor performance
The best SMP servers are not the ones with the most plugins or the fanciest spawn. They are the ones where a small group of friends logs in regularly, builds something cool, and has a good time.
Start small, keep it simple, and grow from there. Happy crafting.
Related Guides
- Minecraft Server Console Commands Cheat Sheet — every command you need, organized by category